


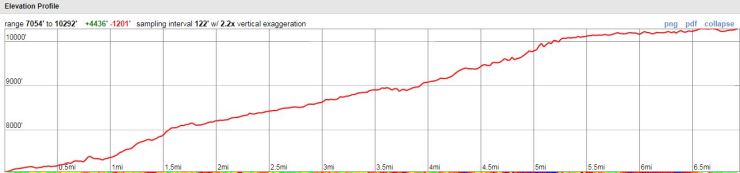
Trip overview: The La Luz Trail is a well-known hike in the Cibola National Forest just outside of Albuquerque, New Mexico. The trail climbs ~8 miles up the West face of the Sandia Mountains and ends at the Sandia Peak Tramway observation deck. The one-way hike is ~8 miles long and climbs up 3,800 feet with a starting elevation of 7,000 feet and a peak elevation of 10,350 feet. Highlights include views of the Sandia Mountains and expansive views of Albuquerque and the Rio Grande Valley. We completed this hike in the second week of October 2017 during the Hot Air Balloon Fiesta.

High resolution USGS topographic map download (pdf)
Link to purchase USGS topographic map
Shop Sale & Clearance Items at REI.com (up to 50% off)!
Preparations:
Permits: No permits are needed to hike the La Luz Trail. If you plan to park at the trailhead, you do need to put $3 (cash or check) in the self-service pay station located at the parking lot. You cannot camp along the trail, so no other permits are given out.
Logistics: The GPS coordinates of the parking lot are (35.219671, -106.480804) and Forest Service Road 333 that leads to the lot is well-marked and in good condition. There is a restroom at the trailhead, but there is no potable water source. If you drive and park at the trailhead, be prepared to either (a) hike an additional 8 miles back down to your car, (b) take the tram down the mountain and then hike 3.5 miles from the tram station back to your car, (c) take the tram down and get a taxi/Uber to drive you from the tram station to your car, or (d) arrange for someone to drive and pick you up at the top of the mountain. One way tickets for the tram ride down the mountain cost $15 and can be purchased at the office next to the observation deck at the end of the trail. If you plan to utilize the tram, be sure to time your hike so you do not miss the last tram. Depending on the time of year, the last tram heads up the mountain at either 8 or 9 pm. Exact hours and schedules can be found at the Sandia Peak Tramway website.
Supplies: There is not a water source at the trailhead, so be sure to acquire 2-3 liters of water before leaving home. My 2.5 liter camelback was sufficient water for my one way hike in October. In the heat of the summer, you may want to carry 3 liters of water. There is no other water along the trail until you reach the tram. Assuming the tram is running, you can re-fill your bladder at the visitor center where the tram stops (I am not certain if the visitor center is open on says when the tram is closed). There is also a vending machine here with snacks, but the restaurant that used to reside here has been demolished and is not rebuilt as of late 2017. We did not have any issues with bugs, so bug repellent is likely not necessary. Sunscreen and a long sleeve shirt is highly advised though since the trail is at high elevation and exposed in many sections. You may also want to bring some layers because it can be cold at the start of the hike and at the top of the tram.
Here are some suggested hiking clothes:
- Base layer hiking shirt (Columbia Silver Ridge Lite Long Sleeve Shirt)
- Rain jacket (North Face Venture 2 Rain Jacket)
- lightweight down jacket (Patagonia 800-fill Down Jacket)
- Synthetic hiking pants (prAna Zion Pants)
- Wool hiking socks (People Socks merino wool crew socks)
- Thin base layer socks for blister prevention (WrightSock CoolMesh double layer socks)
- Gore-tex hiking shoes (adidas Outdoor Terrex Fast R Gore-Tex Shoe)
- trekking poles (Cascade Mountain Tech Carbon Fiber Trekking Poles)
- light bandana for sun protection (Levi’s printed bandana)
- mesh back trucker hat (Patagonia LoPro Trucker Hat)
- adjustable fabric belt (Bison designs belt)
- 3 liter hydration bladder (Camelbak Antidote Reservoir)
- Small backpack (Osprey Daylite Daypack)
Weather and Trail Conditions: Weather on the trail varies significantly depending on the time of year and can range from very hot to cold and snowy. Therefore, be sure to check conditions before hiking and pack appropriately. If hiking in the winter or spring there may be snow on the mountain, so trekking poles and crampons or cleats may be needed. In the heat of the summer, additional water may be needed. Definitely be prepared because this hike can be deceptively difficult and the weather can be unpredictable.
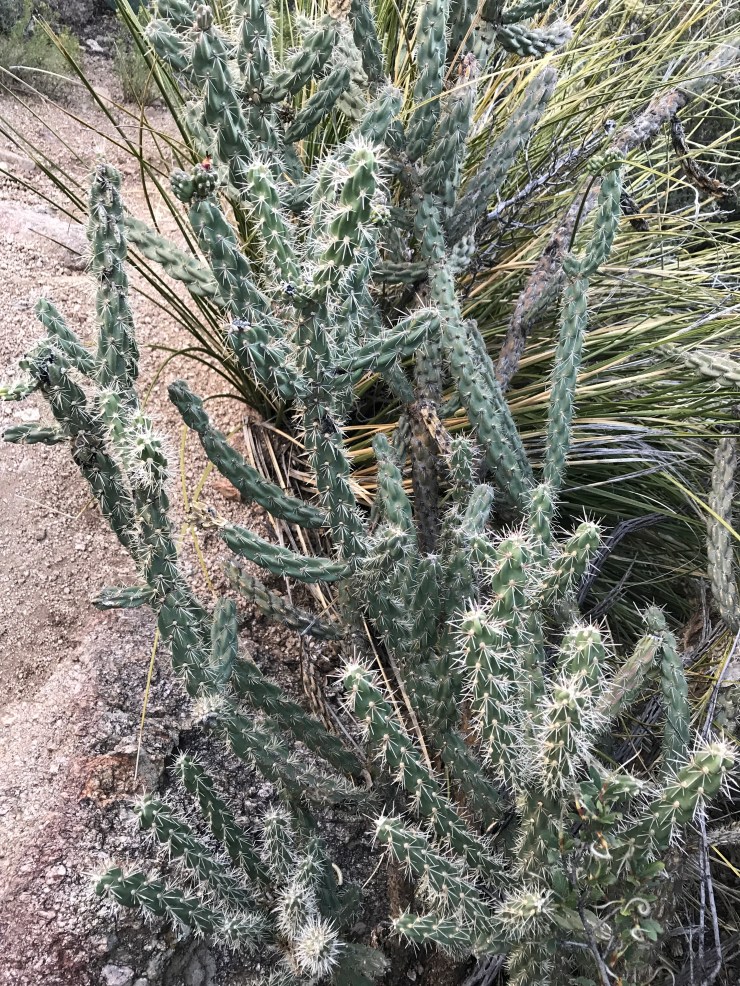
In addition to the seasonal changes in temperature, there can be a big temperature swings when hiking from the 7,000 foot base to the top of the mountain. We started our hike at 7:45 am and it was chilly for the first 6 miles of the hike. Having a layer to take on and off was very helpful! The trail is well maintained for the most part. Some sections of the trail are rocky, so hiking shoes are a good choice for those who want firm footing. Having hiking shoes or boots will also save your feet if you accidentally kick a cactus. If you are hiking the full 16 mile round trip, you will want to bring ample food and flashlights in case you end up finishing the hike in the dark.
Difficulty: The La Luz Trail makes for a strenuous day hike, especially if you plan to hike both ways (up and down the mountain). It is important to remember that the trail climbs nearly 4,000 feet and is at high altitude. Hikers who are not used to hiking at altitude will likely hike much slower than their usual pace and may need to take breaks to catch their breathe. We finished the one way hike in 3.5 hours, but we are experienced hikers and had perfect hiking temperatures between 60-70 degrees. Even with great conditions, I still had a headache from the altitude and occasionally felt light-headed. If you suspect you are feeling symptoms of altitude sickness, take a break, drink water, and do not go further up in altitude until you begin to feel better. If you plan to hike the trail both ways budget at least 6.5 hours and be sure to train beforehand.
The trail is pretty well marked and we did not have any issues following the trail. However, there have been reports of people getting lost along the trail, so care should be taken. This is generally only an issue when there is snow on the trail as it can hide the trail. Most problems can be avoided by starting the hike in the morning so that you do not have to hike in the dark.
Hike Details: 8 miles one way; +3,800 feet, -500 feet; La Luz Trailhead to the Sandia Peak Tramway Observation Deck. Then we took the tram down the mountain.

My friends and I were visiting New Mexico for a few days to see the famous Albuquerque International Balloon Fiesta. On one of the days when we were not going to fiesta in the morning we decided to hike the La Luz Trail to get a little exercise and to try to see the balloons from atop the Sandia Mountains. We did not have a car, so we took an Uber to the trailhead. The Uber cost roughly $25, and the driver had no issues finding the La Luz Trailhead. If you are carless, Uber or taxi is a great option.


We initially planned to start the hike by 6:30 – 7:00 am so we could be on the trail when the hot air balloon Mass Ascension was beginning. However, we got a bit of a late start and started hiking at 7:45 am. Luckily, we were still able to see the balloons along the first several miles of the trail and didn’t miss too much. The balloons take off from fairly far away, so they look small in the distance. But, the sight is really neat, and it was very cool to see hundreds of balloons rising above Albuquerque.

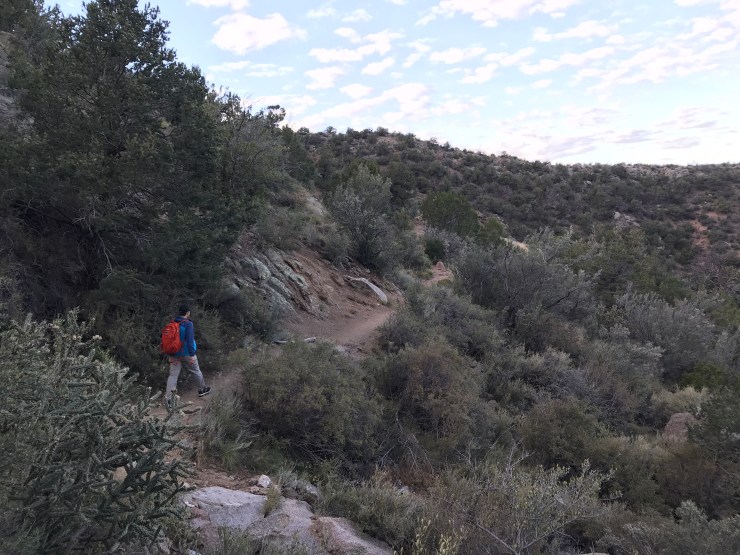
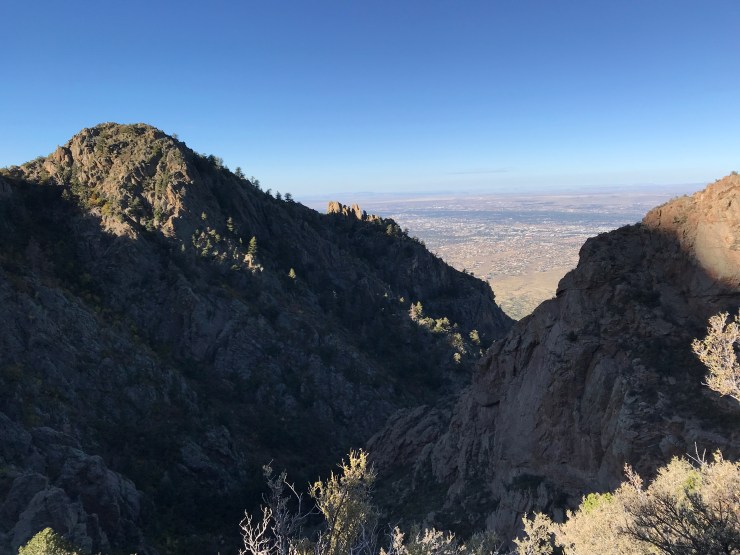
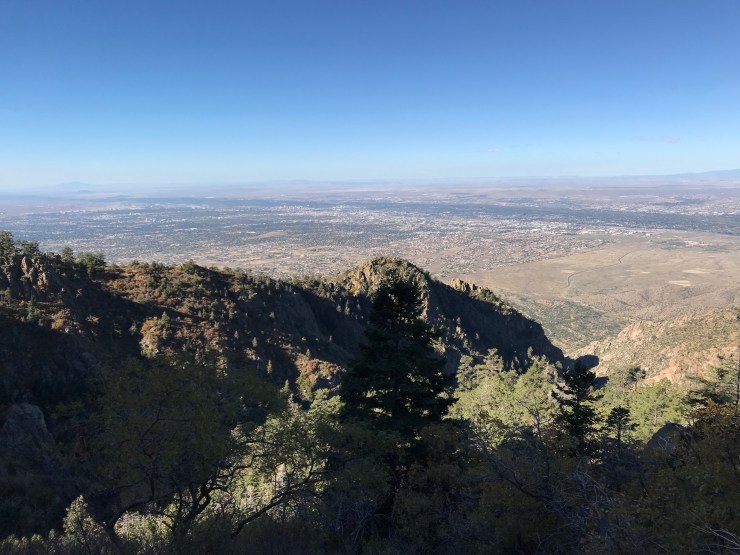
From the very beginning, the trail climbs steadily upward. The first ~3 miles of the hike are exposed with no tree cover. Since we left early in the morning, we were in the shade for this portion of the hike as the sun was still behind the Sandia Mountains. The beginning of the hike is not the most beautiful, but you are treated with views of Albuquerque and the Rio Grande Valley as you hike upward. There are also plenty of interesting looking cacti and other desert plants along the trail.


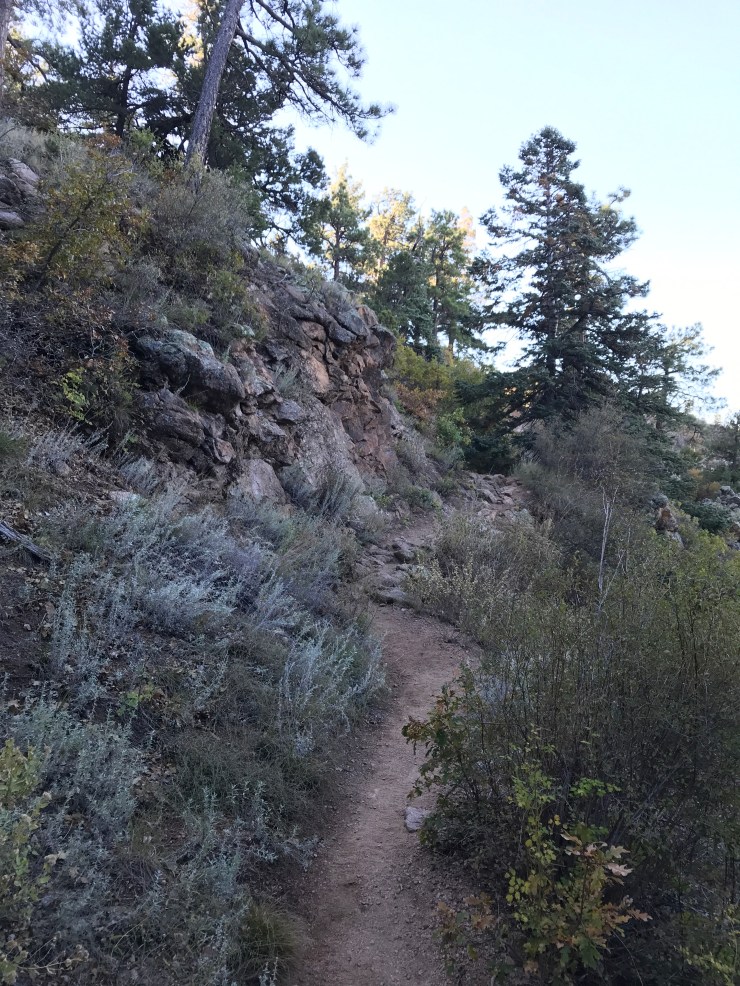
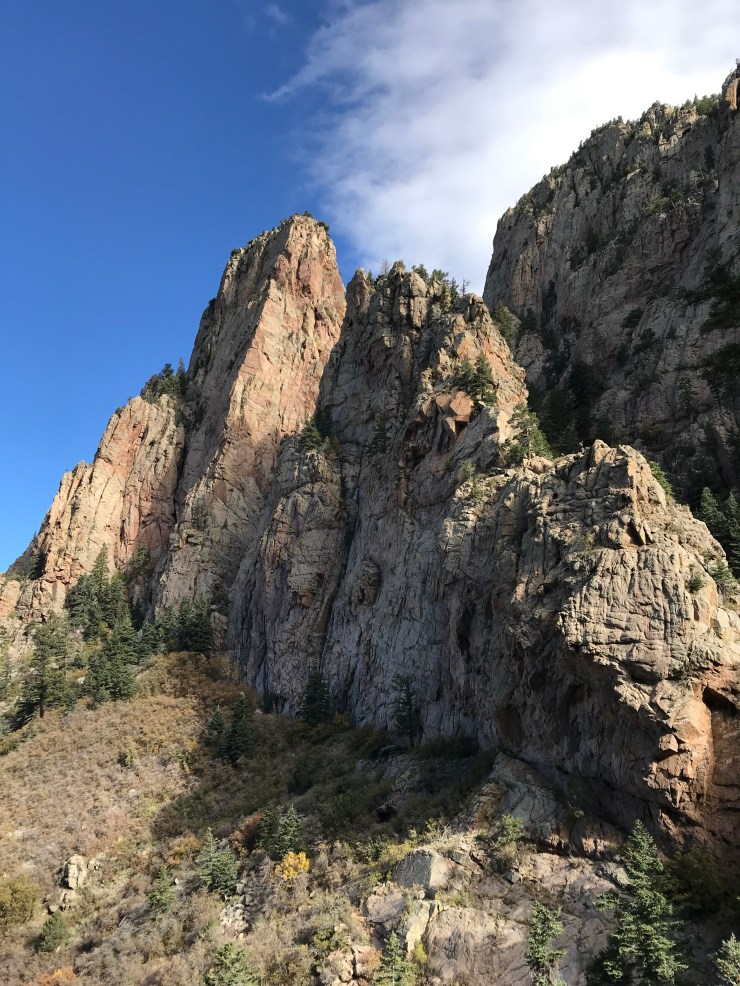
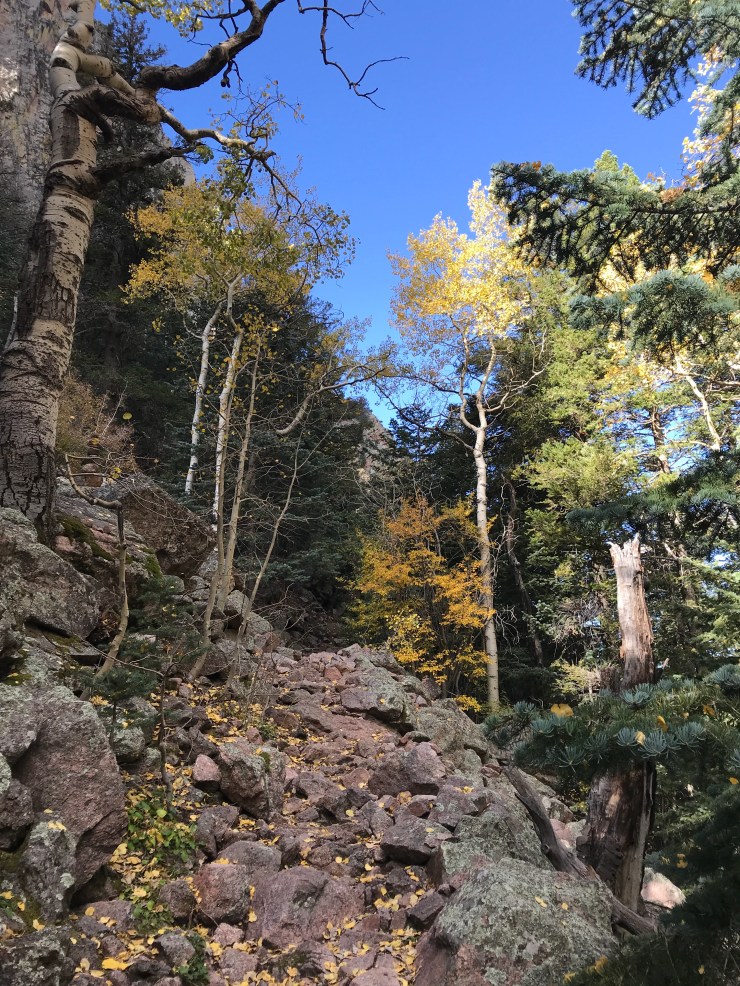
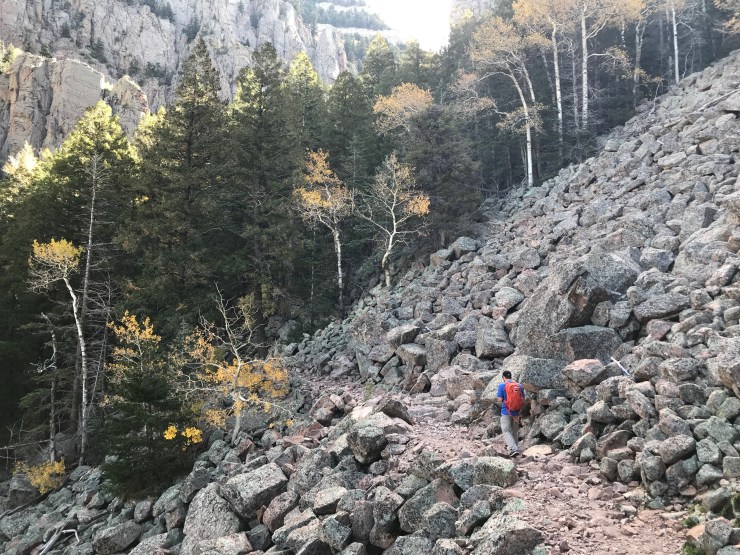
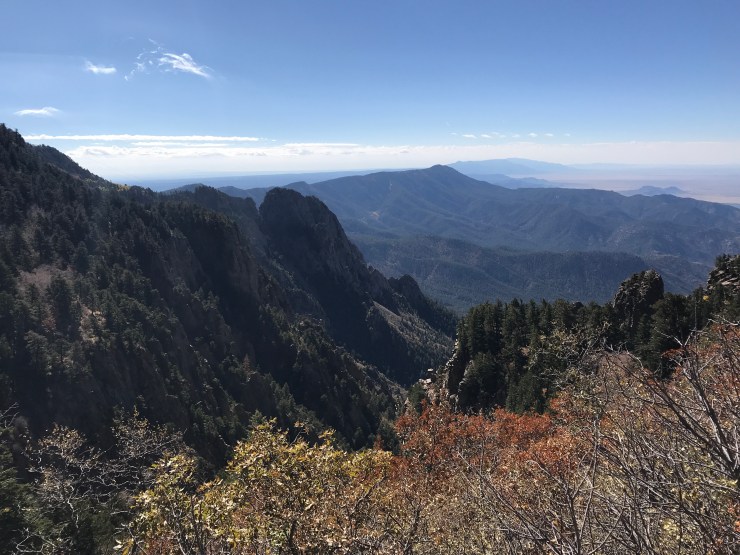
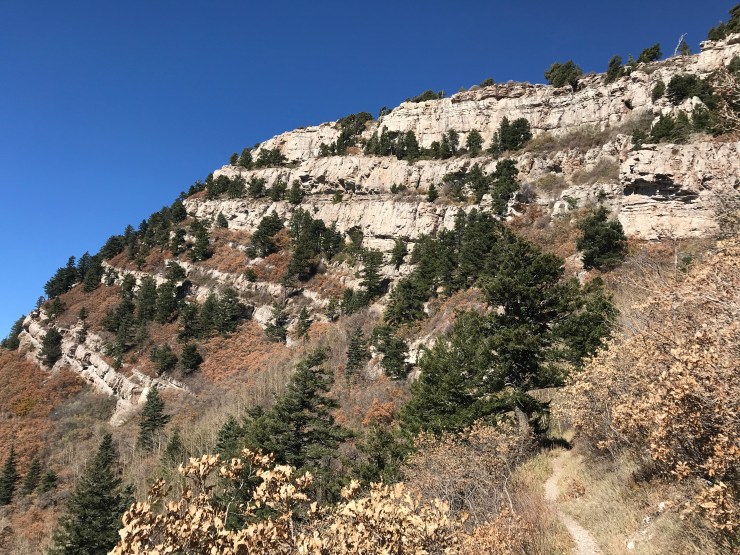
After about the 3 mile mark, the trail begins to get closer to some of the large steep rock features on the mountain. The temperature will drop, and the scenery becomes more dramatic as the trail meanders up the mountain. Along this middle portion of the trail you pass through a variety of trees and can see groups of brightly colored Aspen trees. Through miles 4-6.5, the trail passes through a transition zone when the foliage changes from a desert landscape to a cool Canadian Forest with Aspen, Pine, and Spruce trees. As you pass through the forest you also hike across several several large scree debris fields where large pieces of rock have slid down the mountain. The footing in these sections is not too bad, and it is cool to look up at the slides.


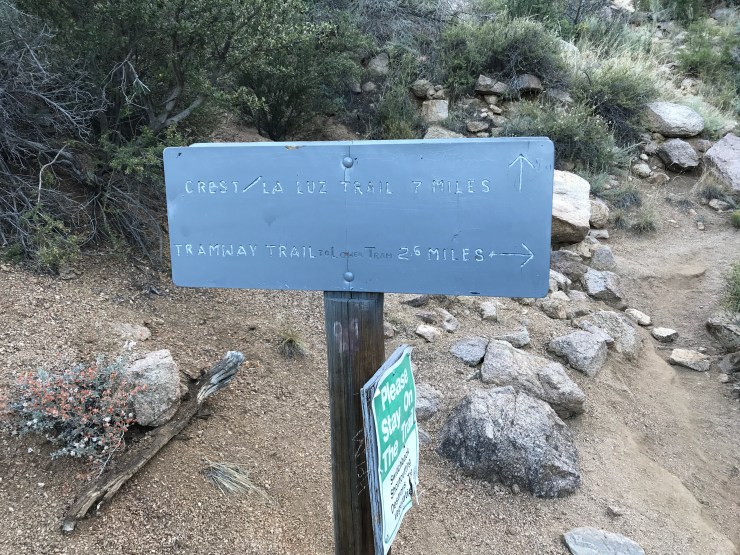
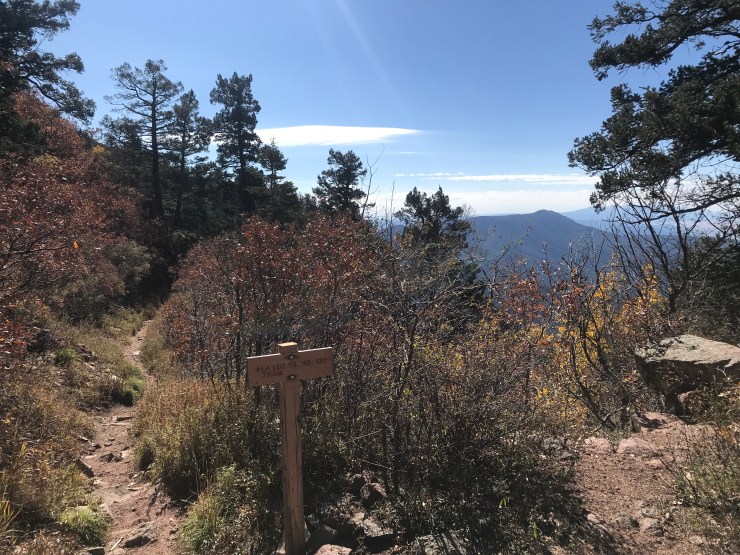
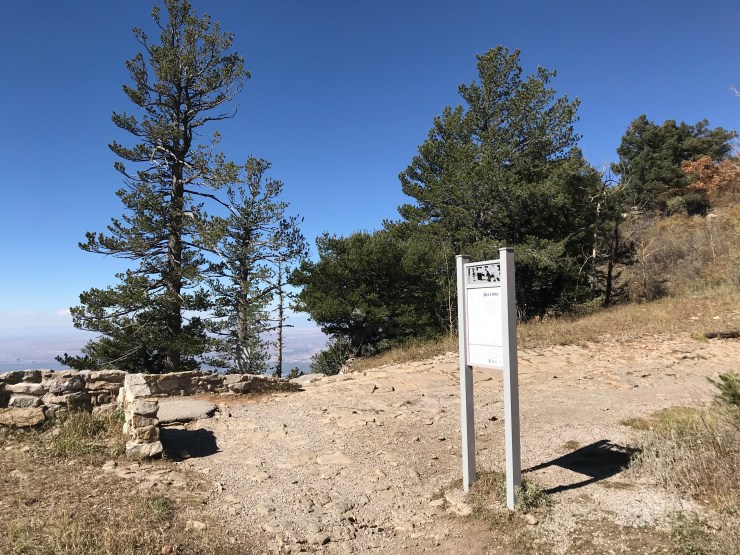
From miles 6.5 to 8, the trail begins to level out and traverses the Sandia Crest. Follow signs that lead to the tram unless you have specifically planned to take a side trip. There are other trails near the top of the crest that will lead you far from the tram if you are not prepared. As you approach the tram, the views are great. Around the 7 mile mark there is a junction for a trail to the Kiwanis Cabin. This cabin is located at the top of a crest at about 10,600 feet. We did not hike here and instead went straight to the observation deck next to the tram. If you hike to the cabin, it adds an extra ~1.5 miles round trip from the junction.
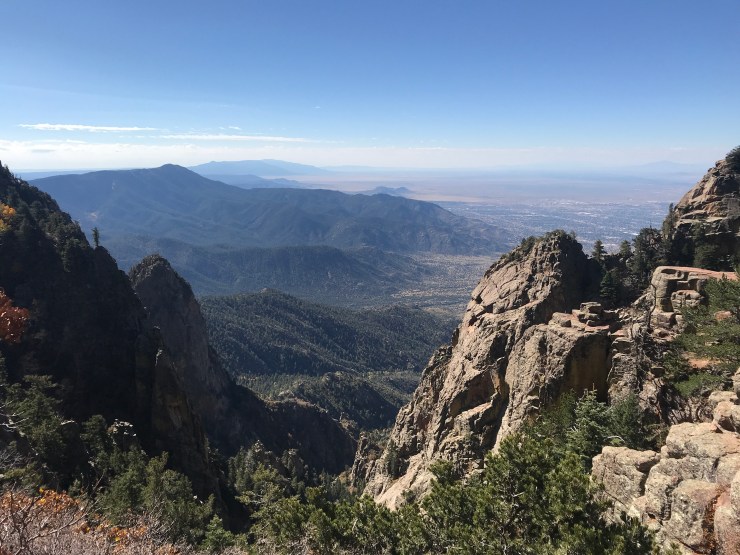


When we reached the observation deck, we took in the views for a bit. You can see both the views of Albuquerque to the west and the views of the ski slopes and mountains on the east side of the Sandia Mountains. At the top we grabbed some water from the drinking fountain in the ticket office and bought some snacks from the vending machine. We then bought our one way tickets for the tram and waited until we were ready to head down. There are some benches on the observation deck where you can rest and relax if you do not want to immediately take the tram down the mountain.

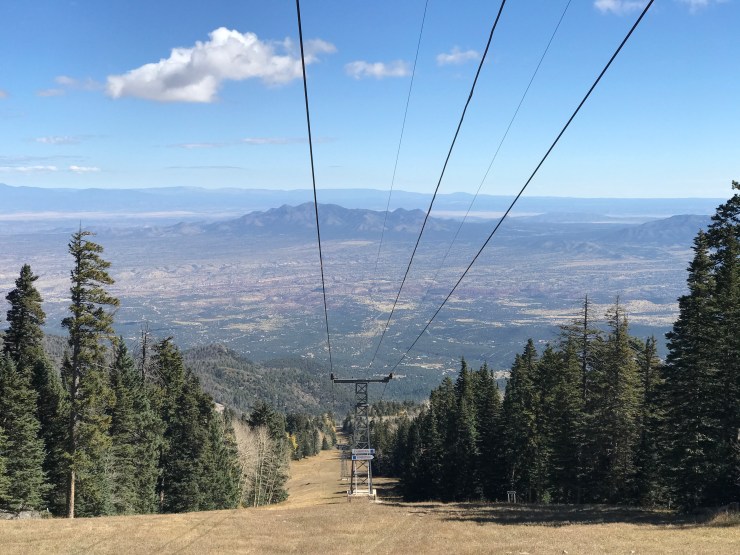


The tram ride down the mountain is fun and provides some nice views. If you do not want to spend the whole day hiking, the hike up / tram down option is great! The tram heads down the mountain every 20-30 minutes and there is not too long of a line when heading down the mountain (unlike going up the mountain when the tram line can be >1 hour long). Note that the tram does not take you back to the La Luz Trailhead. It lets you off at the Trailhead for the Tramway Trail, which is ~3.5 miles from the La Luz Trailhead. Overall this is a great hike!
For more (and better) balloon pictures, see my trip report on the Albuquerque International Balloon Fiesta!
Here are some similar trip reports!
Grand Canyon Hiking – South Kaibab and Bright Angel Trails
Yosemite Hiking – Clouds Rest and the Lembert Dome
Banff Hiking – Plain of Six Glaciers Trail, Lake Louise, and Grassi Lakes

Very informative. I’m doing this hike tomorrow and this was very helpful!
LikeLike
COOL! I love all the names 🙂 If I ever find myself near the Sandía Mountains I’ll be sure to check this one off my list. Thank you for the helpful info! Saludos
LikeLike
Thanks for a nice report. I love that area. Are you sure that you can’t camp along the trail? I’ve spent several nights on Embudo Trail and up on the Crest and was unaware of restrictions on camping in the National Forest. Maybe ignorance is bliss?
LikeLike
I guess I am not 100% sure about the camping. I would not be surprised if camping is fine in other areas in the wilderness like you describe. But, the forest service webpage for Last Luz only mentions hiking and not camping or backpacking. I think it is best to not camp along the trail and instead find somewhere up on the crest where there is more space and flat ground! Thanks for the comment and for sharing your experience!
LikeLike
If I take the tram up how long will it take to hike down, and does the trail end up at the Tram station. I hike often and run at least 10 miles a week. So pretty good shape.
LikeLike
Probably 2.5 to 3 hours depending on how quickly you hike.
LikeLike
Went early October (during the first weekend of Ballon Fiestal) and the trail wasn’t very busy. We went through changing Aspens, walked along rock cliffs and across a few boulder fields. Definitely pack with layers as it gets windy, and the shaded areas are cool. We also began at m so the temp was fresh and warmed up as the day progressed.
LikeLike
Great information. On point for sure. Grew up here in the 60’s , 70’s and 80’s. Worked search and rescue year round. Carried and guided many out of the canyons. Mostly visitors from the East. Most suffering from severe panic attacks then anything else. Not a difficult hike at all, strenuous for sure. Reviews like this help tremendously. Key – If you’re not experienced with strenuous exercise & dramatic attitude changes, GO SLOW and let you body adjust. Feel lightheaded? STOP! You’re likely NOT having a heart attack or going mad. STOP! After your mind and body calm down, then decide whether to ascend or descend. Don’t feel any need to get to the top in 4 hours. Some of my most enjoyable hikes have lasted 5 – 7 hours, with a few detours. Bring fruit and snacks bars for a full day and 2.5 to 3 liters of water minimum. No shame in turning back. You can always attempt it some other time. Stupid to go further if your mind and muscles aren’t cooperating. I’m 56 and have moved back to the Land of Enchantment. I have no problems getting to the top. But I hike every day. I will be joining search and rescue in the Fall.
Follow ALL recommendations from host author. Enjoy a spectacular hike with stunning views. Hope not to see you. 🙂
LikeLike